Why Window Visors are Great for Cars
Dodge Durango Glass Parts and Their Functions
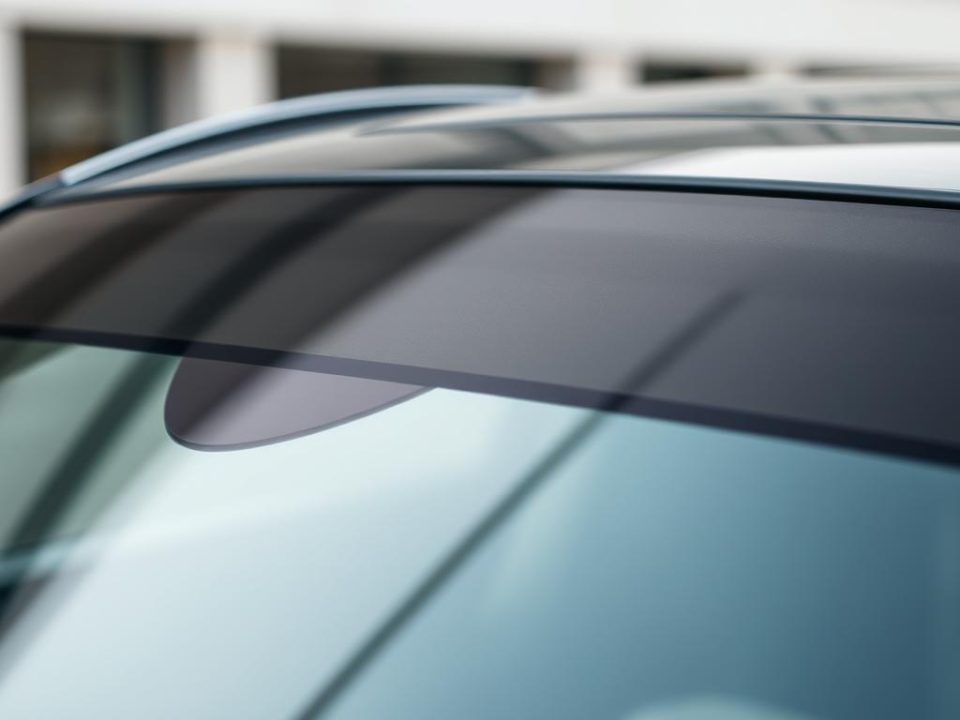
Tinted windows are stylish and useful. The tint films on car windows give a car a sleeker look. The films also offer protection against harmful UV rays and can keep the temperature inside a car cool in summer. A window tint film also reinforces glass to make glass less likely to shatter.
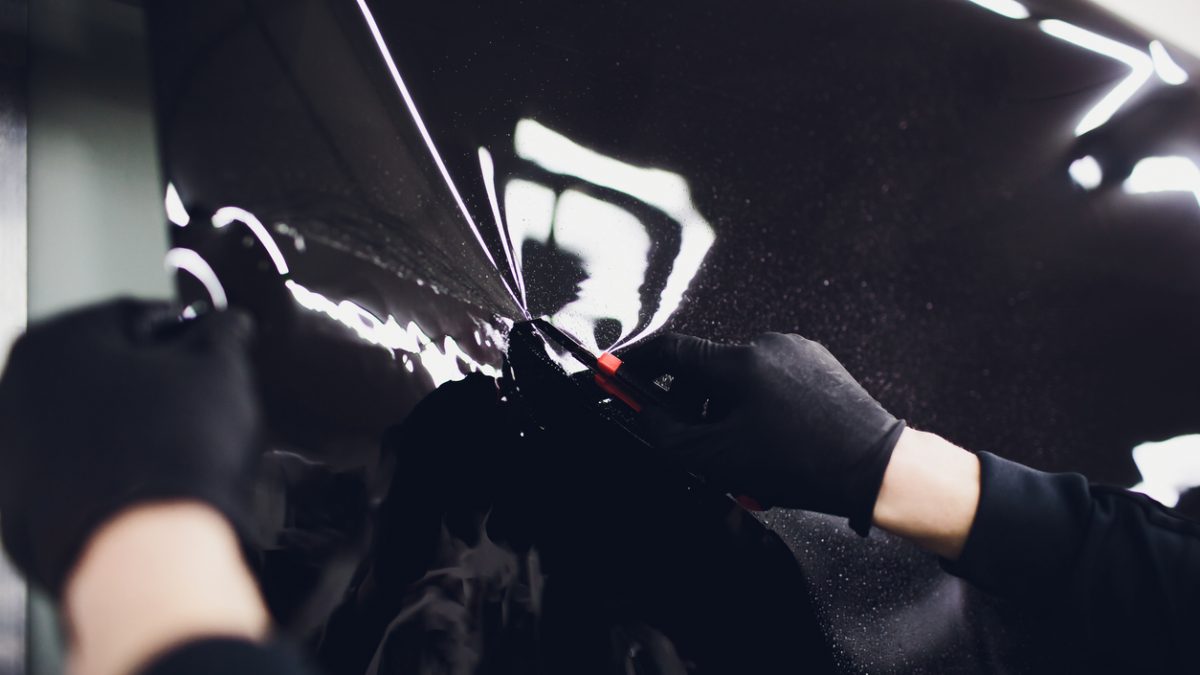
Tinted windows usually come at an extra cost, but it is possible to do a do-it-yourself (DIY) application of tints on windows to lower cost and be able to choose the type of film tints for the windows. Learn DIY tint film application, as stated in an article on HoltsAuto.com.
Laws on Window Tints
Before attempting a DIY application of tint films, there are two things to follow. First, for windows a windshield film must let in a minimum of 75% light. For the front side windows, the windshield film must let in a minimum of 75% light. Failure to comply with the law leads to an issuance of a prohibition notice from a police officer, preventing the car from being driven on the road until the tinting has been removed.
Miracle Auto Glass Center is a leading (auto glass repair) and replacement shop in San Antonio area! Get a free online for tint applications and (broken windshield) repair estimate now!
Tint Film Application
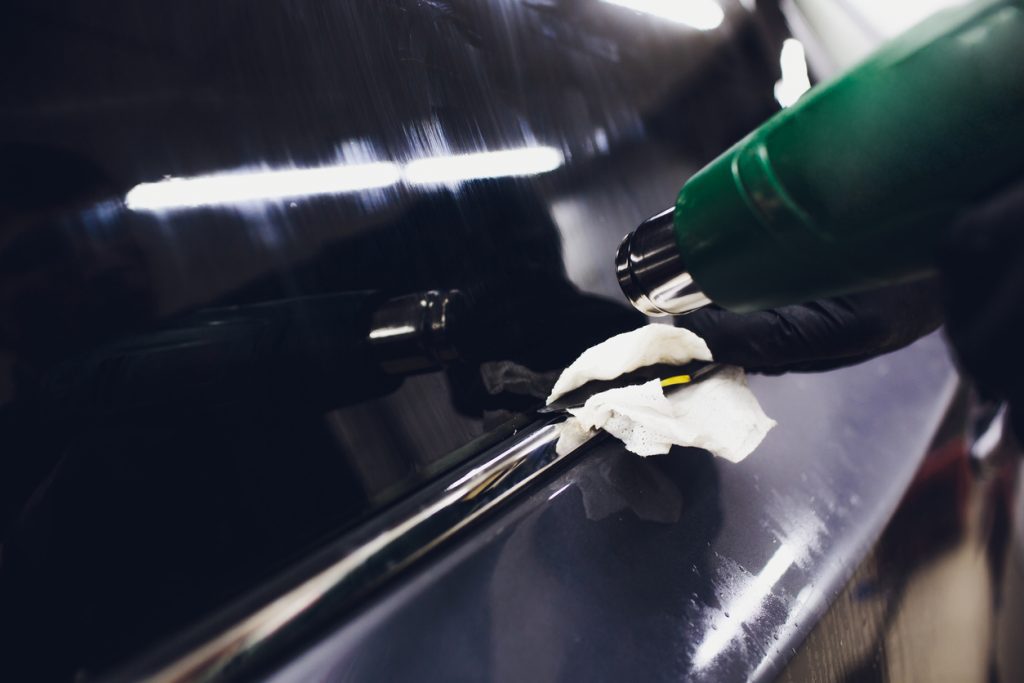
There are four types of window film tints: dyed tint film, metallized tint film, carbon tint film and ceramic tint film. After choosing the right tint film, get a heat gun, Craft or Stanley knife, spray water bottle and metal file. The DIY project also requires the use of microfiber cloth, squeegee and window razor.
Step 1
Using a window cleaning product, clean the interior glass where the film will be applied. A cleaning product for car windows should be used. Once the smears, marks and grease are removed, wipes off excess moisture from the glass and dry it with a squeegee and a window razor.
Step 2
Then, spray water on the exterior glass to allow the film to be placed gently. Doing it makes adjustment and cutting of the glass easy. Next, cut the film by pushing it tightly into the window recess and then trim accordingly using a knife. Follow the lines of the window to make cutting more precise. Rounding off the corners prevent dog ears and peeling. Also, slightly winding down the window will help in cutting the film to the right shape.
Step 3
Using a heat gun, make the film follow the shape of the window. The heat makes the stretching and reshaping of the film easy to do. Afterwards, hang the film, or lay it on a clean surface that has been sprayed with water to prevent sticking.
Step 4
Remove the backing then spray both surface of the film with water. Always keep the film moist for easy handling.
Step 5
Finally, carefully press on the surface of the interior window, and with a plastic card push the film into the corners of the window. Pushing of the film should be done from the middle outward. Keep the film pliable to straighten it out by using the heat gun. But, apply heat on the outside of the glass to keep the film from melting.
Step 6
With a metal file, give the tinted window a smooth and rounded finish. It prevents the film from peeling away when the window is moved up and down.
Glass installations and repairs are a specialty of Miracle Glass Center. The company has (windshield repair) and replacement technicians with over 10 years of experience in the field. And, the company also offers a discount coupon that can be applied to the cost for repairing a windshield!

