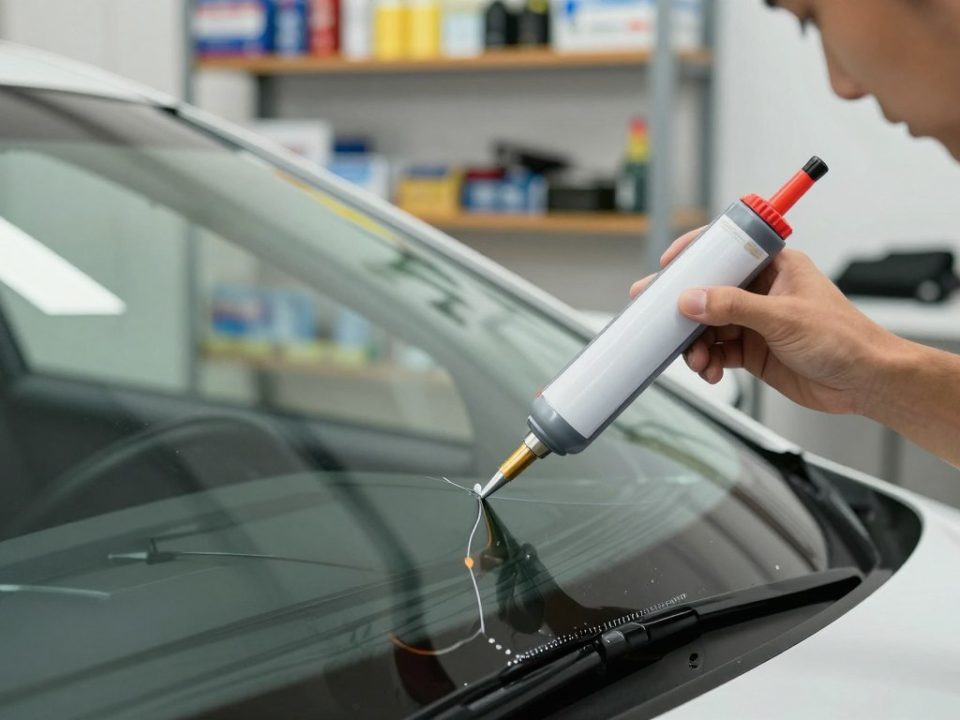
Can Worn Wipers Damage Your Windshield

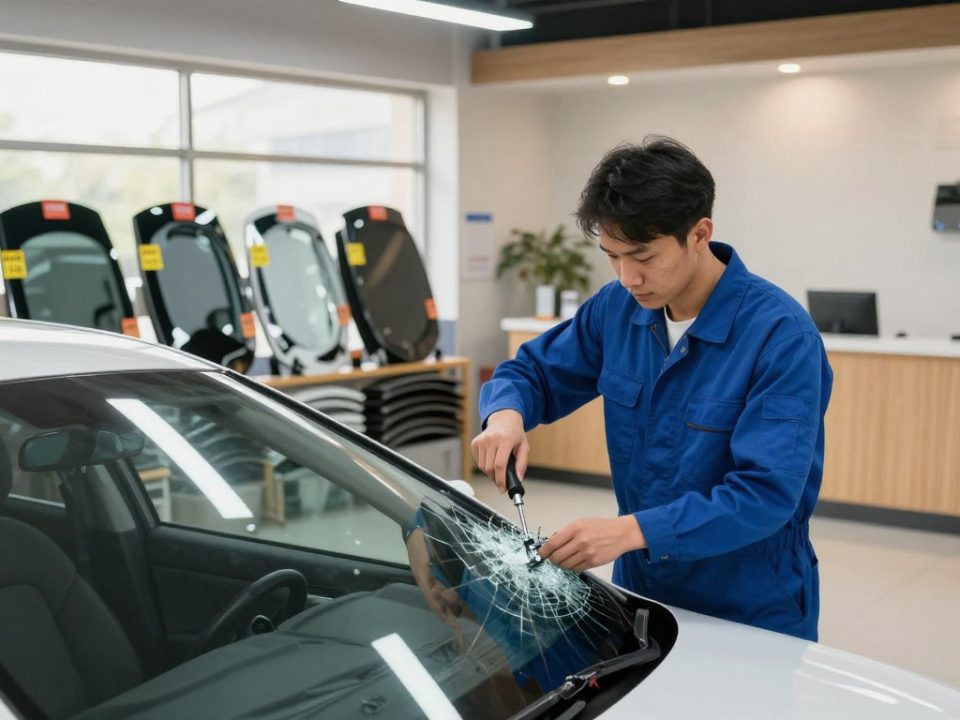
How Long Does Windshield Replacement Take
Clear vision is a safety step, not just vanity. Dirty or hazy panes cut visibility, and streaks turn bright lights into glare at night. You need a repeatable routine that removes haze, film, and leftover cleaner glare under streetlights.
Streak-free means no haze, no film, and no glare. You will treat the inside and the outside differently because interior oils and exterior grime respond to different approaches. This guide previews tool prep, a towel strategy, interior steps, exterior steps, troubleshooting, and ongoing protection.
Follow practical, short steps that fit routine maintenance — not a full detail day — and still yield a clear finish. If cleaning reveals chips, cracks, or wiper-scratch damage, turn to Miracle Auto Glass as your local resource for repair and replacement.
Key Takeaways
- Streak-free means no haze, film, or glare under lights.
- Clean interior and exterior surfaces with different methods.
- Use proper tools and multiple cloths to avoid re-depositing dirt.
- Focus on visibility for safer night and rainy driving.
- Contact Miracle Auto Glass when you find chips or wiper damage: Miracle Auto Glass guidance.
Why Streak-Free Car Glass Matters for Safe Driving
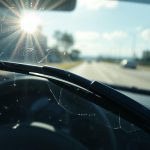
A thin film or stray streaks can turn bright lights into blinding halos when you drive after dark. Nighttime and poor-weather conditions make even slight haze a safety issue. Light scatters off residue and creates glare that reduces contrast and hides hazards.
How haze and road film reduce your view: Grime and road film on the exterior lower contrast in rain, sleet, or snow. That forces you to react slower and tires your eyes more quickly.
Common causes of streaks: Too much cleaner, fast evaporation on hot windshields, or using a dirty, lint-shedding towel all leave streaks behind. Inside the vehicle, invisible films form from body oils, smoke residue, vinyl or leather outgassing, and product overspray that bakes on.
Auto glass behaves differently than household panes. Curved surfaces, tight seals, vents, and nearby plastics trap oils and make wiping tricky. Later you’ll use directional wipes to tell whether streaks are inside or outside so you correct the right surface.
If visibility problems persist and cleaning doesn’t help, contact Miracle Auto Glass for repair or replacement options, or read about OEM vs aftermarket options.
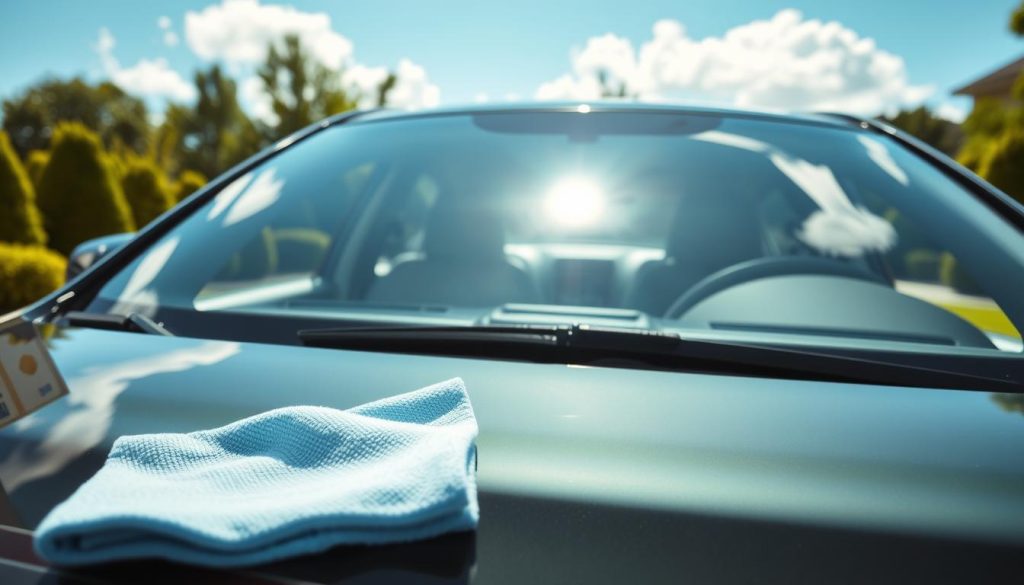
Prep Your Tools and Workspace for Better Results
Start by setting up a calm, shaded workspace so your solutions don’t evaporate before you can buff them.
- Quick pre-clean checklist: park in shade, confirm the windshield is cool, lay out clean towels, and have a tint-safe glass cleaner ready.
- Why shade matters: Direct sun speeds evaporation and leaves residue. Working on cool glass gives you more time to wipe and reduces haze.
- Choose the right solution: use an ammonia-free, tint-safe cleaner. Ammonia can damage window film and trim; avoid household products with harsh solvents.

Pick a low-nap or waffle-weave microfiber for the job. These capture grime without shedding lint or causing tiny scratches.
Two simple methods to prevent streaks
Two-towel method: one towel to apply cleaner, another to buff dry.
Three-towel method: apply, lift residue, then polish with a fresh cloth for a final shine.
Use less product than you think — a light mist on the cloth is enough. This keeps solution on the towel instead of trim or seats and cuts buffing time.
Practical note: if stains persist, Miracle Auto Glass can help with repair or more advanced care.
Car Glass Cleaning Tips for a Streak-Free Finish
Small technique changes make the difference between a streaked finish and a clear view. Use repeatable moves so you clean faster and leave fewer marks.
Fold your microfiber towels to expose fresh, clean surfaces
Fold a microfiber into fourths so each quarter gives a fresh side. Rotate to a clean face after every few passes.
Why it works: You avoid redepositing grime and extend each towel’s useful life.
Use different wipe directions to identify surface side streaks
Wipe the exterior up-and-down and the interior side-to-side. If streaks remain, the direction that still shows marks tells you which side needs another pass.
Roll windows down slightly to clean the top edge and seal
Drop the window 1–2 inches to reach the hidden top edge. Wipe the exposed glass and the seal to stop the seal from re-smearing the pane.
Control overspray to protect the interior and steering wheel
Always spray cleaner onto the cloth, not the glass. Use moderate pressure and slow, steady passes so the towel lifts dirt instead of skating.
Final check tip: Inspect the surface from multiple angles before you finish. If you see chips or deep scratches, contact Miracle Auto Glass for repair options.
How to Clean the Interior Windshield Without Smears
Start by sitting on the passenger side. This gives you clear access to the driver-side surface and keeps you from pushing into the steering wheel while you work.
Spray cleaner onto the cloth, not the glass. That prevents drips down the dash and limits overspray on plastics and screens. Use a light mist on a folded microfiber so you control the amount of solution.

Work in a steady side-to-side pattern
Wipe horizontally across the interior surface to lift oils, smoke film, and product residue. Overlap passes so you don’t leave missed bands.
Towel sequence and finishing
Use one towel to remove grime and a second dry towel to buff until the windshield looks clear under interior lights. Keep each towel folded to expose fresh faces as you go.
Handle stubborn residue
For vinyl or leather off-gassing and dressings, add one extra controlled pass with a slightly stronger cleaner on the cloth. Avoid using water alone — it can leave a smeary layer.
- Less is more: add cleaner in small amounts to avoid a heavy film.
- Quick check: shift your head and view from low and high angles to confirm no haze remains.
- If scratches or persistent visibility problems persist, contact Miracle Auto Glass for repair or replacement.
How to Clean Exterior Windows and Windshield Like a Pro
Begin on the outside to remove road film and get a clear view of any damage. This lets you see chips or cracks that hiding grime can mask. If you find damage, contact Miracle Auto Glass for repair options.
Lift the wipers first
Lift the windshield wipers so you can clean the glass underneath. Dirt builds at the lower edge and causes wiper chatter if left behind.
Spray smart based on temperature
If the windshield is cool, spray the glass directly. If it’s warm, spray the cloth to avoid fast evaporation and streaks.
Wipe up-and-down, then buff
Use steady up-and-down passes with moderate pressure to lift dirt, bug residue, and grime. Don’t grind debris into the surface.
Switch to a second clean microfiber towel to buff and remove any remaining residue for a polished finish.
Repeat the process on side windows and mirrors
Use the same step-by-step routine on side windows and mirrors so your visibility is consistent all around. Do a quick pro check of reflections and edges where streaks hide.
- Quick checklist: lift wipers, temperature-based spraying, vertical wipes, buff with a fresh towel.
Fixing Common Problems That Cause Streaks
Quick diagnosis saves you time and keeps visibility safe. Start by spotting whether haze comes from too much solution, a contaminated cloth, or heat on the surface.
Too much cleaner: why it leaves haze and how to correct it
Using excess cleaner creates a thin film that smears when it dries. That haze hides edges and creates glare at night.
Fix it: switch to a clean, dry towel and buff in straight passes until clear. Use less product next time — a light mist on the cloth beats spraying the pane.
Wrong towel or dirty cloth: lint and grime create new streaks
Low-quality towels and paper fibers shed and redeposit dirt as you wipe. A contaminated cloth drags residue instead of lifting it.
Reset method: stop, grab fresh microfiber towels, and resume with folded faces. Replace towels when you see streaks reappear.
Direct sun and hot glass: how working conditions affect your finish
Heat speeds evaporation and bakes residue into the surface. That turns a simple job into a prolonged redo.
- Move into shade or wait for cooler time to avoid quick drying.
- Spray the cloth, not the glass, when the surface is warm.
- Spot fix workflow: lightly re-mist the towel, wipe with controlled passes, then dry-buff for final results.
Deep Cleaning and Protecting Your Glass for Longer-Lasting Clarity
If your panes still feel rough or look dull after a regular pass, bonded contamination on the exterior may be trapped in micro-pores. That hidden debris reduces visibility and shortens the time between cleanings.
Clay bar decontamination
When to use it: if the surface feels gritty to the touch or polishing doesn’t restore shine.
Use a clay bar with generous lubricant and work in straight passes. This lifts embedded dirt and grime without marring the finish.
Removing water spots
For light mineral marks, try distilled white vinegar on a microfiber. Gently wipe, then rinse and dry.
When spots are etched or stubborn, step up to a dedicated glass scrub or polish designed to address mineral deposits and light etching.
Apply a hydrophobic protectant
Why it helps: a sealant makes water bead and roll off, improving your view in rain and cutting how often you need products for maintenance.
Protected, smoother exterior surfaces reduce wiper drag and can extend wiper life by lowering friction.
- Make protection part of your regular clean car routine for easier upkeep.
- For deep scratches, chips, or cracks, seek professional service from Miracle Auto Glass rather than more chemicals.
Conclusion
Close the process by working methodically: use shade, a tint-safe cleaner, and rotate folded microfiber so each pass lifts dirt instead of spreading it.
Make sure you use two towels (or three) so used fabric never re-deposits residue. Wipe the exterior vertically and the inside horizontally to find and remove remaining streaks quickly.
Save time by using less solution, buffing dry right away, and following the same simple step-by-step routine across all windows and mirrors. Treat water spots and add a hydrophobic protectant when needed to keep the windshield clearer between washes.
After cleaning, inspect the vehicle surface for chips or cracks. If you see damage, don’t wait—hire Miracle Auto Glass to repair or replace your windshield or any other auto glass so you drive with safe, clear visibility.
