
How UV Rays Slowly Damage Auto Glass

How to Choose the Best Auto Glass Repair Shop
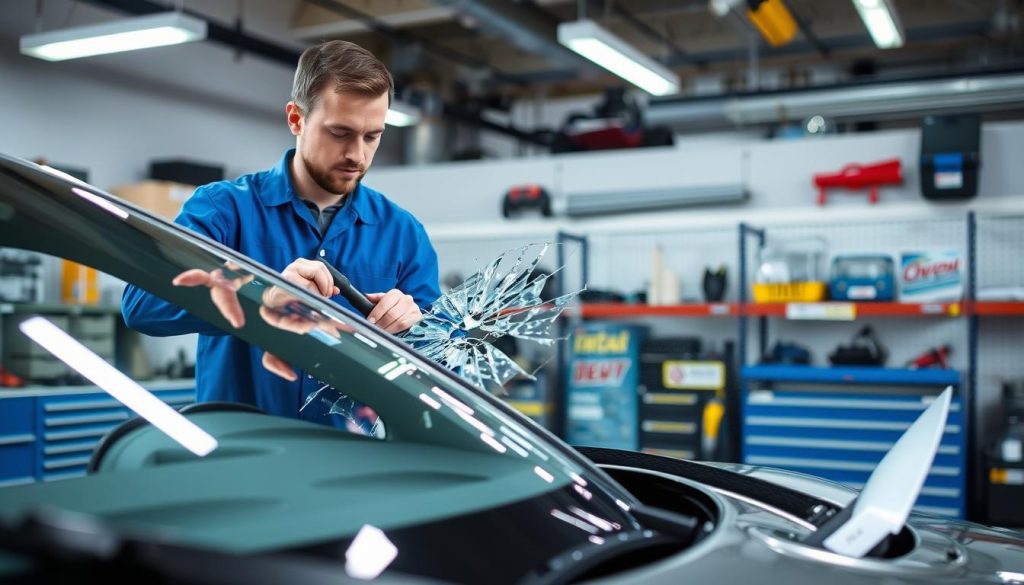
Your car’s glass does more than keep out rain — it helps protect you in a crash and supports roof strength. When damage goes beyond a simple repair, a proper replacement is the safest choice.
Miracle Auto Glass gives you a clear, start-to-finish guide so you know what to expect. The overview shows the main steps: damage assessment, prep, removal, frame cleanup, install, adhesive cure time, and final checks.
A trained technician will confirm fit, check sensors, and explain safe drive-away time. Professional services speed the job, but correct bonding and cure time matter for long-term safety and weather sealing.
This short guide also introduces key terms like auto glass, urethane, frame, and ADAS. Use it to weigh repair versus full replacement and to plan your appointment with the Miracle Auto Glass team.
Key Takeaways
- You get a simple walkthrough of each step so you know why each decision affects safety and performance.
- A technician inspects fit and sensors before the job starts.
- Cure time for adhesives determines when it’s safe to drive again.
- Miracle Auto Glass services include removal, install, fit checks, and guidance on drive-away time.
- Knowing key terms helps you follow the full guide and choose the right outcome for your vehicle.
When You Need Windshield Repair vs Replacement for a Damaged Windshield
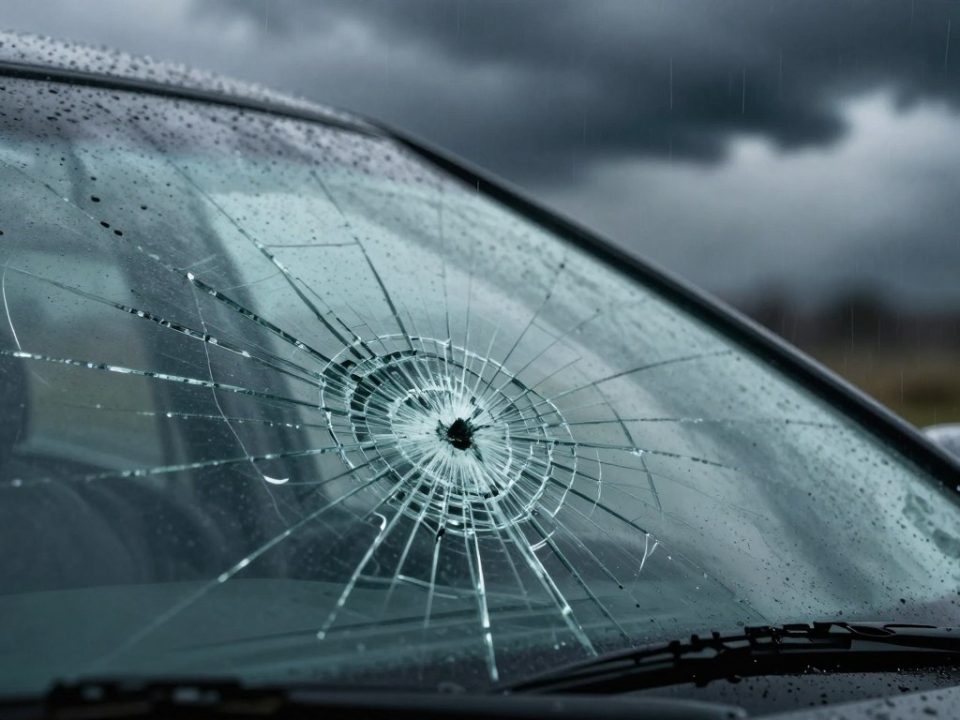
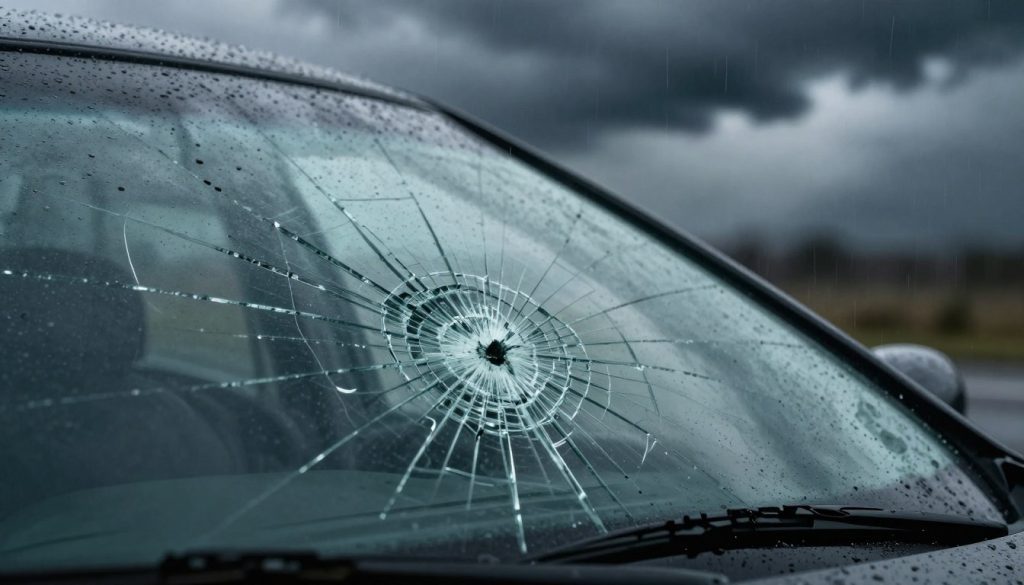
Not all damage calls for a full job; size, location, and branching tell the real story. You can often fix small chips, but larger or complex issues usually need full replacement to restore safety.

How crack size, location, and type affect your decision
Evaluate depth and spread: short surface chips may be repairable. Long, deep, or branching crack patterns often mean replacement is safer.
Watch the location: damage in the driver’s sightline or near edges weakens the bond and can spread with vibration or temperature change.
Why your glass supports crash safety systems
Your windshield helps maintain cabin integrity and supports airbag deployment. If structural support is compromised, choose full replacement to keep systems working as designed.
Insurance, coverage, and out-of-pocket cost
Many insurance companies cover glass repair or windshield replacement. You may pay a deductible, so confirm your glass endorsement and ask Miracle Auto Glass for an expert assessment to speed approvals and limit downtime.
- Act quickly to prevent small damage from growing.
- Ask an auto glass expert what they see and why they recommend repair or replacement.
- Document the damage for your insurer to help approvals.
Tools, Glass Options, and Prep Before You Start the Job
Good prep saves time and prevents mistakes. Choose the correct new windshield for your car first. Decide between OEM for an exact manufacturer match, OEE for high compatibility with fewer surprises, or aftermarket glass that can vary by make and year.

Confirm the right glass
Order the glass with the correct tint band, sensor brackets, heating elements, and acoustic layers. A mismatched piece can delay the job and add cost.
Tools and materials you’ll need
Core tools include a cold knife or extended razor for cut-out, suction cups for safe lifting, a razor blade scraper, and a vacuum to clear debris.
- Urethane adhesive and any required primers
- Caulk gun (electric or air preferred), tape, gloves
- At least one helper and a clean, controlled work area
Plan your time
DIY removal and install often take about two hours of work time. But separate that from safe drive-away time: urethane cure can range from 1 to 24 hours depending on the product and conditions.
Tip: Warm urethane for better flow if you only have a hand caulk gun and stage tools in sequence to reduce delays.
ADAS note: Vehicles with cameras or sensors usually need calibration after a new glass install to keep driver-assist systems reliable.
If you don’t want to buy tools or risk fit and adhesion issues, Miracle Auto Glass is the convenient, professional alternative that handles parts, equipment, and calibration for you.
Windshield Replacement Process: Removing the Old Windshield and Preparing the Frame
Start by clearing exterior trim and interior hardware so the bond line is fully exposed. Remove wipers, the rearview mirror, perimeter molding, clips, and the rubber gasket in that order to avoid breaking hard-to-replace fasteners.
Cutting and lifting
Cut the urethane seal with a cold knife or extended razor to limit pinch-weld or paint damage. Power cutters work faster but risk harming the pinch weld and should be used cautiously.
Lifting the old windshield is typically a two-person step. Use suction cups and protect the dash and seats so broken glass and debris don’t damage the vehicle interior.
Clean, trim, and treat the frame
Trim old urethane down to about 3/16″ (≈3 mm), leaving a thin, clean layer where recommended. Then brush and vacuum debris so the bonding area is dry and free of dirt or oil.
Sand or wire-brush rust to bare metal and apply primer in thin coats. Untreated corrosion under the bond line can lead to leaks and failure later.
When to call a pro
If clips break, the pinch weld is damaged, or rust repair is extensive, call a trained technician. Miracle Auto Glass is the safer option when you need precise rust control, paint protection, and contamination-free bonding—see their guide for more details at Miracle Auto Glass replacement guide.
Installing a New Windshield with Urethane Adhesive and Verifying Fit
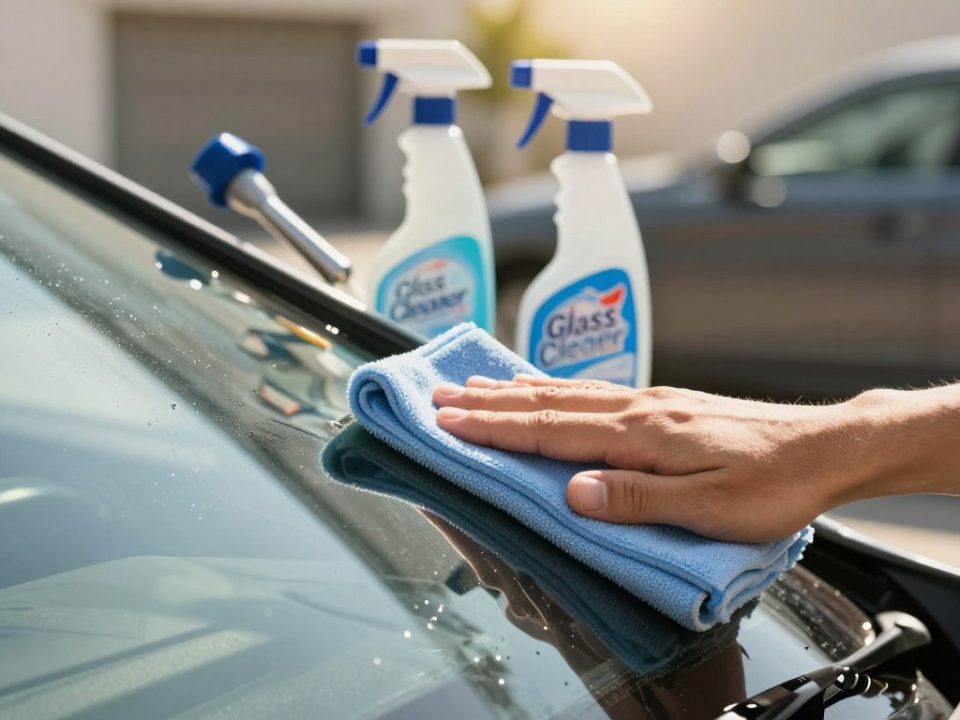
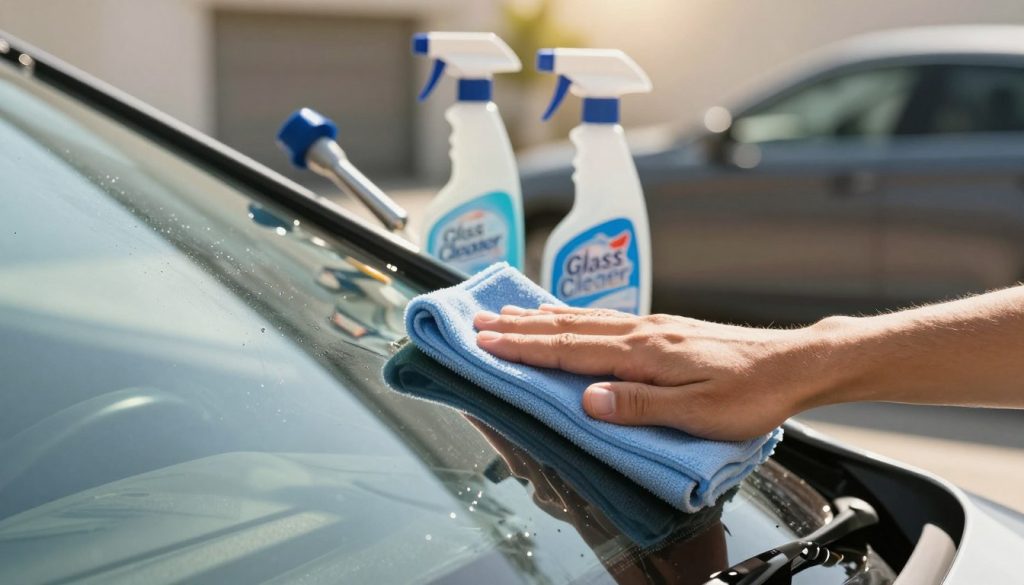
Start the install by prepping both the new glass edge and the car’s bond line so the adhesive can form a full, lasting seal. Clean the perimeter and apply primer to the frit band and frame areas when your urethane system requires it.
Apply the urethane and set the glass
Load a caulk gun and run a continuous, even bead of urethane around the frame. Fill gaps proactively so you avoid leaks and wind noise later.
Align, secure, and cure
Install new glass quickly after the bead is laid to prevent skin-over. Check top, bottom, and side spacing so the glass sits squarely in the windshield frame.
Secure the glass with tape while the adhesive cures. Reinstall molding, clips, mirror, and wipers only after the bond is stable. Cure time varies (often 1–24 hours); avoid washing or slamming doors for 24–48 hours.
ADAS and final checks
Note: Cameras and driver-assist systems can shift during install. If you see warnings or suspect misalignment, have a technician perform ADAS calibration.
- Pro tip: If fit is off, gaps appear, or ADAS alerts persist, bring your car to Miracle Auto Glass for expert bonding, leak prevention, and calibration support — or read their guide on how to install new windshield.
Conclusion
Use this summary to confirm next steps, from claiming insurance to scheduling an expert install.
You now have a clear view of windshield replacement and repair options, safe cure time, and post-install checks. Follow insurer guidance on coverage and deductibles to lower out-of-pocket cost.
Remember: proper bonding and calibration by a skilled technician matters. Watch for wind noise, leaks, or ADAS warnings after service and act quickly if you see signs of damage.
For a reliable, start-to-finish option, hire Miracle Auto Glass. Their expert team handles parts, calibration, and aftercare so your auto glass gets the attention it needs and you get back on the road with confidence.