
Common Myths About Windshield Repair Explained
Can Worn Wipers Damage Your Windshield
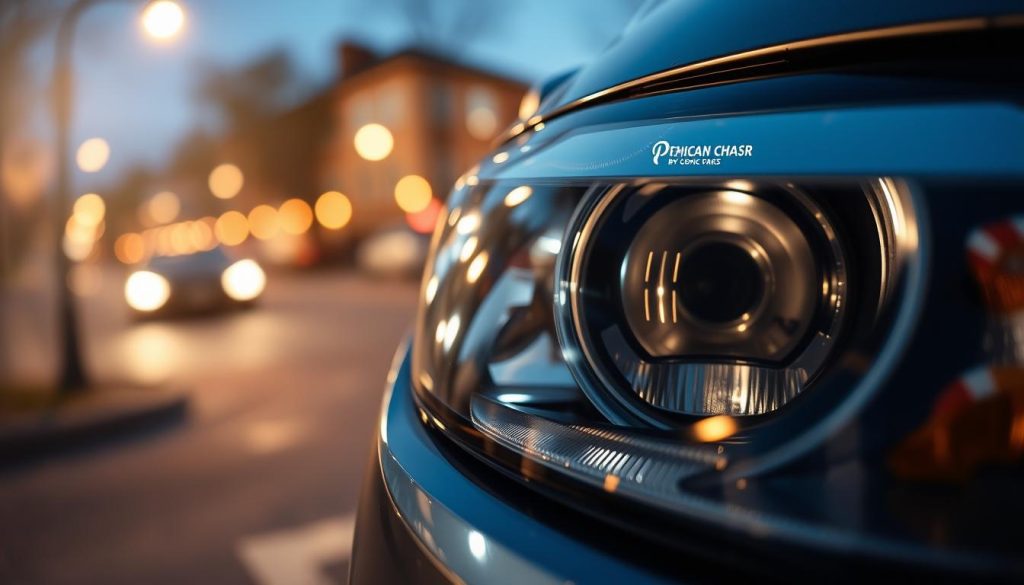
Your headlights do more than light the road. You rely on them for reaction time, lane positioning, and spotting hazards. Cloudy or yellowed lenses cut the beam and reduce visibility, making night driving riskier.
Polycarbonate lenses degrade from UV exposure and grime. That creates a dingy tint and softens the beam. This guide helps you see why your lights look dim and how to pick the right quick clean or full restore so you don’t waste time on the wrong method.
Before you start, test results under actual beams and stop if you find cracks, deep scratches, or water in the housing. The steps focus on lens clarity—not bulb swaps—and clearer lenses usually mean a brighter, whiter pattern on the road.
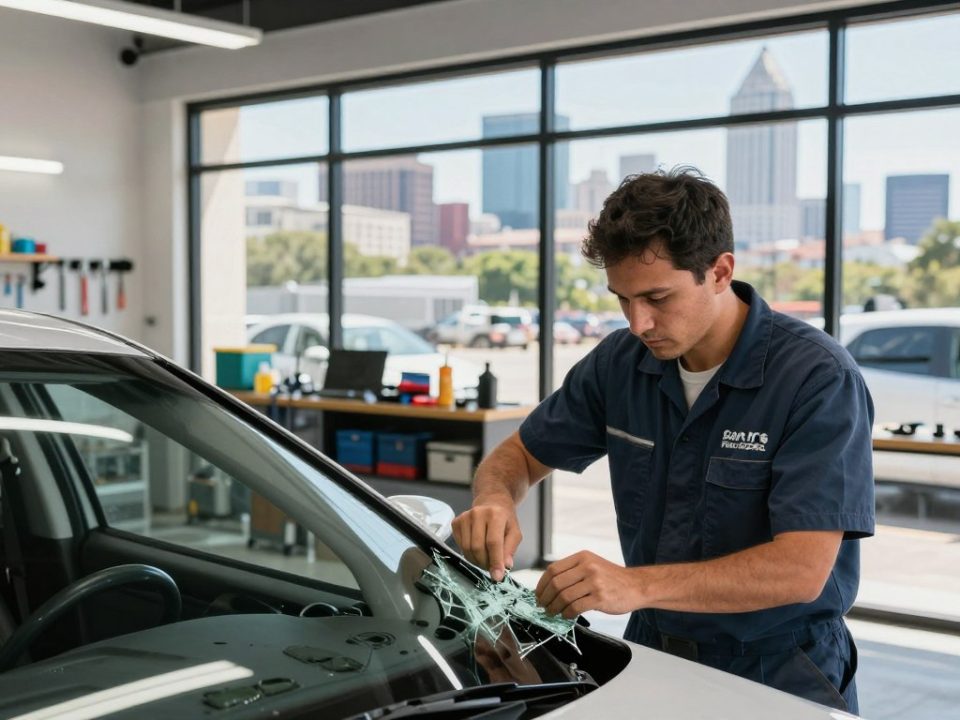
Need professional help? If visibility issues go beyond lenses—like windshield chips or haze—Miracle Auto Glass is a trusted local company that can help. Learn more in our restoration resource at Headlight Cleaning Tips.
Key Takeaways
- Clear lenses directly improve reaction time and lane control.
- UV damage and oxidation dim and yellow headlights over time.
- Choose quick cleaning for light haze; restore for heavy oxidation.
- Stop and call a pro if you see cracks, deep scratches, or moisture.
- Miracle Auto Glass can help when visibility problems extend beyond lenses.
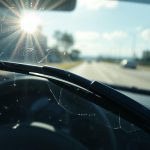
Why clean headlights matter for night driving safety
A cloudy lens turns crisp light into a dull, washed-out glow that hides hazards. Clear lenses concentrate your beam so you see farther, spot contrasts, and read signs sooner.
How foggy or yellowed lenses reduce light output and visibility
UV-degraded polycarbonate can absorb blue light and shift the beam toward yellow. That change lowers contrast and reduces usable viewing distance.
What “dim” headlights look like on the road and why it increases risk
Dim lights show weaker cutoff lines, faded lane markers, and duller road signs. You have less time to react to pedestrians or debris.
- Clear lenses focus light where you need it; cloudy lenses scatter beams and shorten sight distance.
- Yellowing signals oxidation; light passes differently and looks dingy.
- Reduced visibility means more braking time, added eye strain, and greater chance of overdriving your beam.
Practical benchmark: after restoration you should see a more even, brighter pattern on a wall test and during a short night drive.
What causes foggy headlights over time
Sun, grit, and chemicals work together to wear down the clear finish on many modern plastic lenses. Over time this process makes foggy headlights and cuts useful light output.
UV exposure and oxidation on polycarbonate plastic
Most modern lenses use polycarbonate plastic. UV rays break down the outer layer and trigger oxidation that turns the surface cloudy or yellow.
Road dirt, bugs, chemicals, and weather breaking down the outer coating
Many lenses start life with a protective coating film. Road grit, dirt, dead bugs, and harsh chemicals slowly peel or abrade that coating and expose the plastic layer beneath.
Moisture and condensation from a damaged seal
A compromised seal lets water in. You may see uniform fog, droplets, or streaks inside the lens — a sign of seal damage rather than surface haze.
- Scratches and pitting from road debris increase light scatter.
- Everyday buildup like dirt and thin chemical films can mimic oxidation and should be washed off first.
- Identifying the cause saves you time and helps you pick a wash, a restoration kit, sanding, or a seal repair.
Check your headlights before you start cleaning
Before you grab polish or sandpaper, spend a few minutes inspecting your lights in daylight.
How to tell if haze is on the outside or inside
Run a simple touch test: gently feel the outer surface. If it feels rough or filmy, the haze is likely on the surface.
Look for yellow or brown spots and uneven patches. Those usually sit on the outside. Uniform cloudiness across the lens often means internal condensation or seal issues.
How to gauge haze severity and choose the right method
Use this quick scale to pick a method:
- Light haze — quick wash and polish (15–30 minutes).
- Moderate haze — kit or light sanding (1–2 hours DIY).
- Heavy oxidation — full wet sanding and polish (1–3 hours DIY).
Choose the method that matches severity so you don’t waste time or harm the plastic.
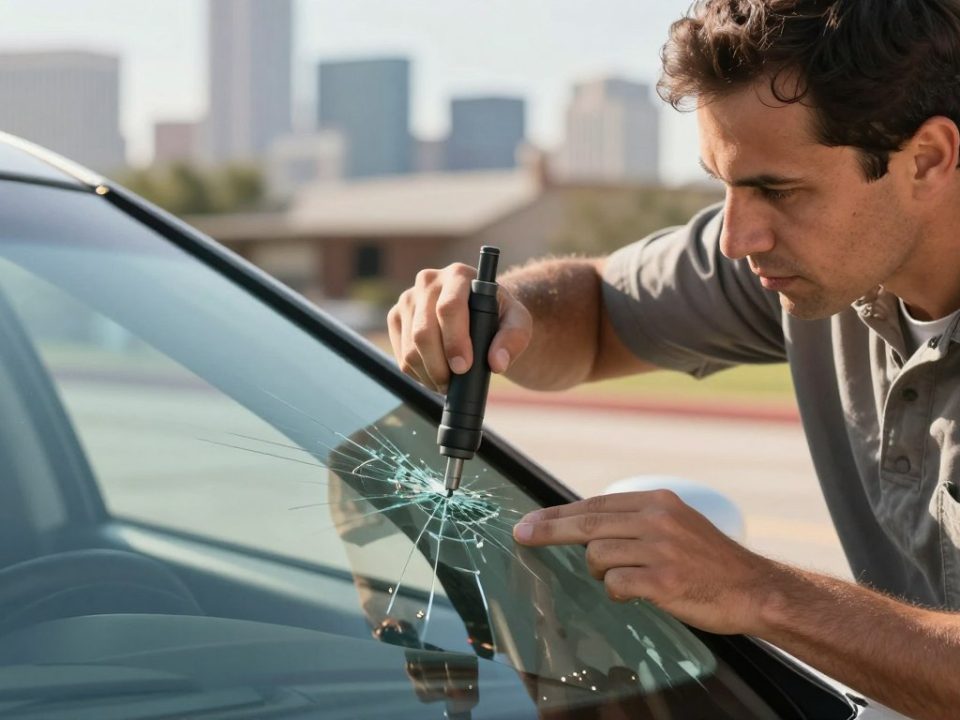
Signs of damage like scratches, cracks, or water intrusion
Check for deep scratches, visible cracks, or droplets inside the housing. These are red flags for seal failure and potential electrical or alignment damage.
If you see standing water, structural damage, or anything that affects aim, stop DIY and get professional help to restore headlights safely.
Headlight Cleaning Tips: supplies you’ll want on hand
Before you touch a lens, collect a few basic items to get consistent, safe results.
Baseline setup: have clean water and warm water available for rinsing, a mild soap or a car wash soap, several microfiber cloths, and latex gloves to protect sensitive skin.
Why microfiber and simple tools matter
Microfiber cloths lift grime without dragging grit across the surface. That lowers the chance of scratches and gives a smoother finish.
Optional tools that help: a soft-bristled brush for circular motions and painter’s tape if you move on to sanding.
Quick DIY alternatives and safety
When you’re in a pinch, toothpaste or a baking soda paste can act as a mild abrasive to remove light haze. Use gentle pressure and rinse with warm water afterward.
Always spot-test any cleaner on an inconspicuous area and avoid aggressive scrubbing. For moderate haze or recurring yellowing, a restoration kit or a labeled headlight restoration kit usually gives longer-lasting results.
- Match the method to haze severity.
- Finish restored lenses with a protectant for best longevity.
Quick cleaning for light haze and surface dirt
Begin by wetting the lens thoroughly so loose dirt lifts away instead of being rubbed across the surface. This simple step keeps grit from scratching the plastic when you scrub.
Wash, rinse, and dry to avoid grinding grit
Do this first: rinse with water, then gently wipe away loose debris. Apply a mild soap or cleaner and work in straight strokes to lift bugs and film.
Rinse again and towel dry with a microfiber cloth. Drying prevents water spots and lets you see if haze is just surface dirt or needs more work.
Safe wiping and buffing with gentle pressure
Use a clean cloth and fold it to a fresh side often. Apply very light pressure and avoid circular scrubbing while grit remains. If a film resists, re-wet the area and repeat rather than pressing harder.
- Rule of thumb: you can do this in minutes for light haze.
- Checkpoint: turn on your headlights and aim at a wall to judge beam clarity.
How to clean foggy headlights with toothpaste or baking soda
For light surface haze, household abrasives are a safe, low-cost fix you can try today.

Make a clingy paste and let it work for a few minutes
When to use this: choose this method for light haze or early yellowing on headlight lenses. It lifts surface oxidation without heavy tools.
Mix baking soda with a little water until thick enough to cling. Add a dab of toothpaste for extra mild abrasion. Let the paste sit for 3–5 minutes but don’t let it harden on hot plastic.
Use controlled circular motions to lift oxidation
Work with a damp microfiber cloth. Use gentle, even circular motions to polish the surface. Keep pressure light so you remove haze without gouging the lens.
Rinse, dry, and verify under real beams
Rinse thoroughly with clean water, then dry with a clean microfiber cloth. For stubborn grime, try a fizzy mix of baking soda and distilled vinegar, polish lightly, and rinse well.
- Timing: paste sits for a few minutes, then polish 1–3 minutes per panel.
- Tools: soft cloth and steady hands beat aggressive scrubbing.
- Verify: test beam pattern at dusk to confirm improved glare and reach.
Using a headlight restoration kit for clearer, longer-lasting results
Using a purpose-made restoration kit gives more consistent results than household fixes. These products are formulated to remove oxidation from modern plastic and leave a smoother finish that lets light pass through.
Why restoration products work
Restoration kits use abrasives and bonding agents matched to polycarbonate. That combination removes the degraded top layer and refines the surface so your beam is less scattered.
How to apply the restorer and buff away residue
Follow a simple workflow: wash and dry the lens, apply the restorer thickly, allow the dwell time the product specifies, then work it in with the included applicator or a soft cloth.
Use even pressure and circular motions. After the set time, wipe away residue and finish with light buffing using a clean microfiber cloth.
- What you’re doing: removing the oxidized layer and smoothing the surface.
- Good results: reduced yellow tint, clearer edges, and a tighter beam pattern at night.
- Durability: a restoration kit lasts longer than toothpaste if you follow up with the included sealant.
Wet sanding and polishing for moderate to heavy oxidation
When moderate to heavy haze won’t budge with polish, wet sanding lets you remove the damaged top layer and rebuild clarity. This method is the most efficient DIY restoration for serious oxidation, but it demands patience and the right supplies.
Prep and protect the paint
Start by washing the area with a car wash soap and warm water, then dry the surrounding panels. Use painter’s tape to mask paint and trim so you avoid accidental damage while you sand.
Grit progression and sanding technique
Begin with a coarse grit only if deep defects exist (start at 400). Move up through 600, 1000, then 2000 grit, keeping each step wet. Sand in straight strokes and alternate direction with every grit so each pass removes the prior scratch pattern evenly.
Keep it lubricated and expect a milky stage
Keep the surface lubricated with water throughout so the paper doesn’t clog and you don’t carve into the plastic. A milky haze during sanding is normal; clarity returns after polishing, not during the mid-steps.
Polish, buff, and seal for lasting results
After sanding, apply a plastic polishing compound and buff with a clean pad or cloth until the optical clarity returns. Finish by applying a UV-resistant sealant in multiple thin coats (three or more) to replace the lost coating and help restore headlights stay clearer longer.
- Quick checklist: car wash, tape, grit progression, water lubrication, polishing compound, UV sealant.
- Time: expect this method to take longer than quick fixes but deliver stronger restoration results.
Prevent haze from coming back after you restore headlights
Simple daily habits are the easiest way to stop haze from coming back. Prevention is what makes your restoration worth the time and effort. UV exposure and environmental fallout restart oxidation if you leave lenses exposed.
Smart parking to slow yellowing
Park in the shade, a garage, or use a car cover when you can. These choices cut UV exposure and reduce wear on the plastic layer. Over weeks and months this slows the return of haze to your headlights.
Regular washing to avoid bonded films
Wash your vehicle on a schedule to remove dirt and road chemicals before they bond to the lens. Use mild soap and a soft cloth; harsh solvents can strip the coating and speed damage.
Maintenance cadence for protective layers
Reapply a UV-resistant sealant every few months or follow the product directions. A fresh protective coating replaces the thin layer lost during restoration and buys you more time between major work.
Quick monitoring tips: check your headlights after storms, long trips, or winter driving. Consistent care is the most practical way to avoid sanding again and keep night visibility strong year-round.

Conclusion
Taking the right repair path saves time and avoids needless sanding or replacement.
Start with a basic wash. Move to a mild abrasive like toothpaste or baking soda for light haze. Use a restoration kit when oxidation is stronger, and reserve wet sanding plus polish for heavy damage.
Clear lenses let you see farther and react sooner, especially on dark roads and in bad weather. Check for internal moisture or failed seals—condensation needs a different fix than surface oxidation.
Protect your results with a UV-resistant sealant and simple habits like shade parking and regular washing to slow return of haze.
When visibility issues involve more than lenses, get professional help. For glass repairs and replacement, consider Miracle Auto Glass to restore your windshield and other glass so you drive with clearer vision and more confidence. Learn about glass options in this glass replacement guide.