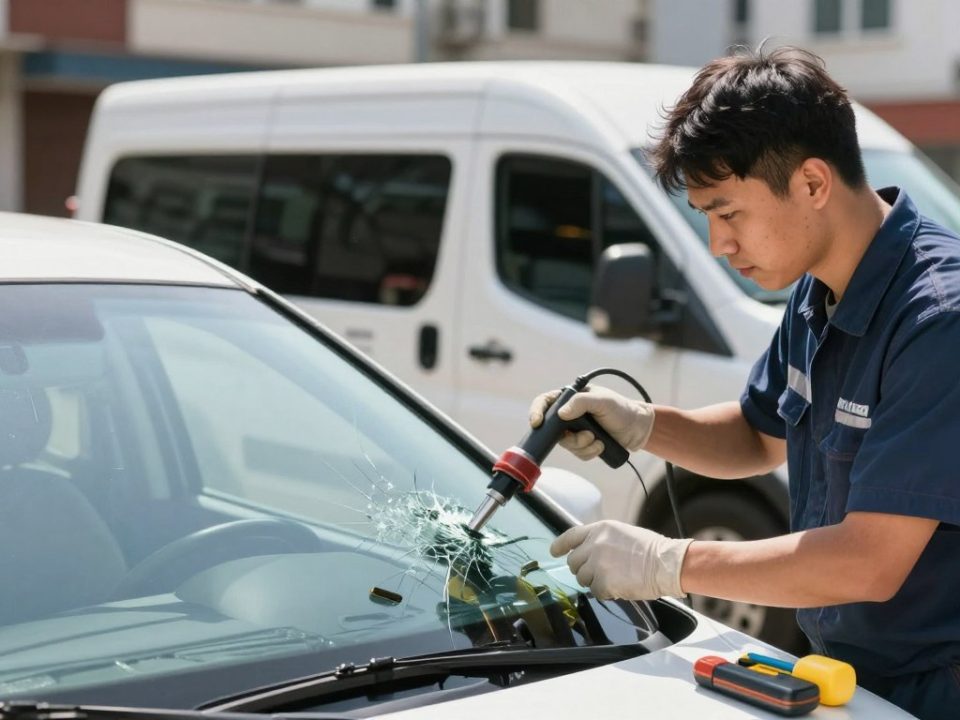
Should You Fix a Windshield Chip Before a Road Trip

What Causes Windshield Leaks and How to Fix Them in San Antonio
You just got a new piece of glass installed in your car. Now, a strange whistling or rushing sound fills the cabin when you drive. This is a frustrating situation many vehicle owners face.
The root of this problem usually lies in the installation process. If the seal isn’t perfect or the adhesive has gaps, air can sneak through. This creates that annoying wind noise you hear on the road.
This sound is more than just an annoyance. It can be a sign of a bigger issue that affects your driving safety and comfort. Air leaks might also let in water or dust over time.
Understanding what causes this issue is your first step toward a quiet ride again. The good news is that solutions exist, from simple DIY checks to professional repairs.
Key Takeaways
- Wind noise following a new glass installation is a very common automotive issue.
- Improper installation techniques or adhesive application are frequent causes.
- These sounds often indicate air leaks that can compromise cabin sealing.
- Addressing the problem quickly is important for both comfort and vehicle safety.
- A professional technician can best diagnose the exact source of the leak.
- Some minor gaps can be fixed with consumer-grade sealant products.
- Ensuring a proper bond between the glass and frame prevents future noise.
Introduction to Windshield Noise and Its Impact on Your Drive
Driving should be a quiet, focused activity, but intrusive sounds from the front of your vehicle shatter that calm. Excessive wind noise following a glass installation significantly impacts your experience. It creates distracting whistling or rushing sounds, particularly at highway speeds.
Industry experts note a key identifier. True wind noise often rises abruptly between 40 and 60 mph. If the sound changes pitch or vanishes when you crack a side window, you are almost certainly dealing with an airflow issue. This simple test helps distinguish it from other sounds like tire hum.
A quiet cabin is essential for driver concentration. Persistent, rushing sounds can lead to fatigue, especially during long commutes. This affects your comfort and overall safety on the open road.
Modern vehicle designs are highly aerodynamic. Even a minor deviation in the seal can disrupt the smooth laminar flow over the glass. This disruption creates turbulence, which manifests as the sound you hear. It’s often a sign of a sealing problem that, like post-accident auto glass damage, should be addressed promptly to ensure your vehicle’s integrity.
Understanding Common Causes of windshield noise after replacement
Pinpointing the exact origin of post-installation sound requires understanding a few common technical missteps. These flaws allow air to penetrate the cabin seal, creating wind rush or whistling.
The most frequent culprit is an imperfect bond. If the urethane adhesive bead is uneven or has small voids, it creates a direct pathway for air. Mispositioned auto glass can also disrupt smooth airflow over your vehicle’s frame.
Other issues stem from peripheral parts. Damaged moldings that don’t lay flat cause turbulence. A poorly seated cowl panel at the glass base lets air sneak underneath. Loose mirror covers often buzz and channel wind.
| Common Cause | Typical Symptom | Primary Location |
|---|---|---|
| Uneven Adhesive Application | High-pitched whistling at speed | Top corners of the glass |
| Misaligned Glass Placement | General wind rush on one side | Along the A-pillar or roof line |
| Faulty or Reused Moldings | Increased turbulence noise | Perimeter of the glass |
| Unseated Cowl Panel | Air noise from the dashboard area | Base of the windshield |
| Loose Accessory Covers | Buzzing or channeled air sound | Around the rearview mirror |
Identifying which of these is affecting your drive is the first step toward a effective solution.
Key Factors Behind Wind Noise: Air Leaks and Installation Issues
A perfect seal requires more than just new adhesive. It demands strict adherence to environmental and procedural standards. Several elements must align to prevent air from entering your cabin.
Improper Adhesive Application
The glue used is critical. Not allowing enough curing time creates a weak, porous bond. This lets air sneak through.
Weather during the job matters a lot. Extreme heat or high humidity can ruin the adhesive’s performance. A poor bond is a direct path for wind.
Moldings, Gaps and Seal Failures
Tiny spaces at the corners are trouble spots. They often cause a high-pitched whistle on the road. Proper alignment per the maker’s specs is non-negotiable.
Any misalignment creates gaps. A pro must also clean and prime the pinch weld perfectly. This stops micro-paths for air to find a way in.
| Critical Factor | How It Causes Sound | Professional Prevention Check |
|---|---|---|
| Insufficient Adhesive Cure Time | Creates a porous, weak seal that air penetrates | Allow full manufacturer-specified cure period before vehicle use |
| Extreme Installation Weather | Heat or humidity degrades bond quality before it sets | Schedule work in controlled, moderate climate conditions |
| Glass Misalignment | Leaves gaps that disrupt smooth airflow over the frame | Use factory guidelines and precision placement tools |
| Unprepared Pinch Weld Surface | Dirt or poor priming allows micro-leaks at the base | Meticulous cleaning and application of recommended primer |
Getting these details right is the difference between silence and a whistling drive.
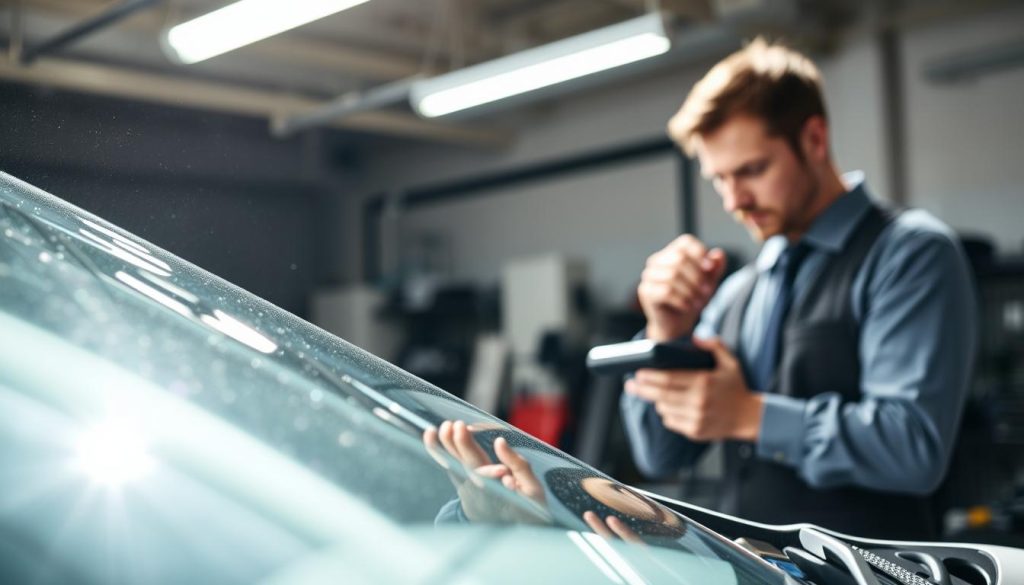
Detecting Air Leaks Around Your Windshield
You can identify airflow intrusions with a few straightforward diagnostic techniques. Pinpointing the exact entry point is essential for an effective fix.
DIY Methods: The Hose and Tape Tests
Start with the simple hose test. Have a helper listen inside while you spray water around the glass perimeter. Any sound of water inside reveals a leak location.
The tape test is another useful approach. Apply blue painter’s tape over suspected seams on the exterior. Drive the vehicle to see if the sound changes or stops.
Professional Diagnosis Techniques
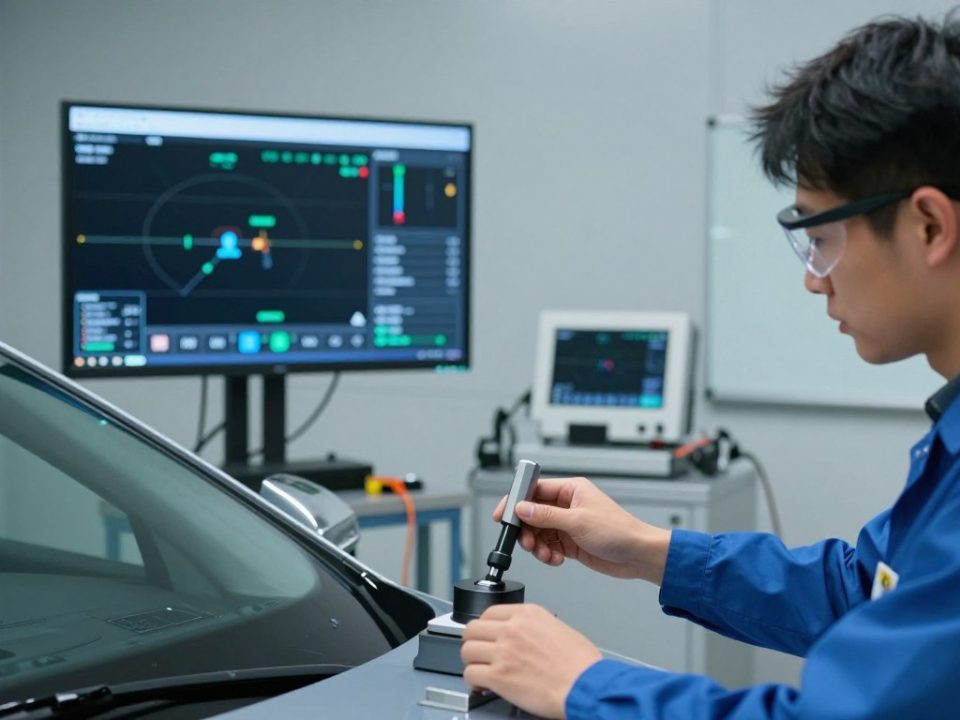
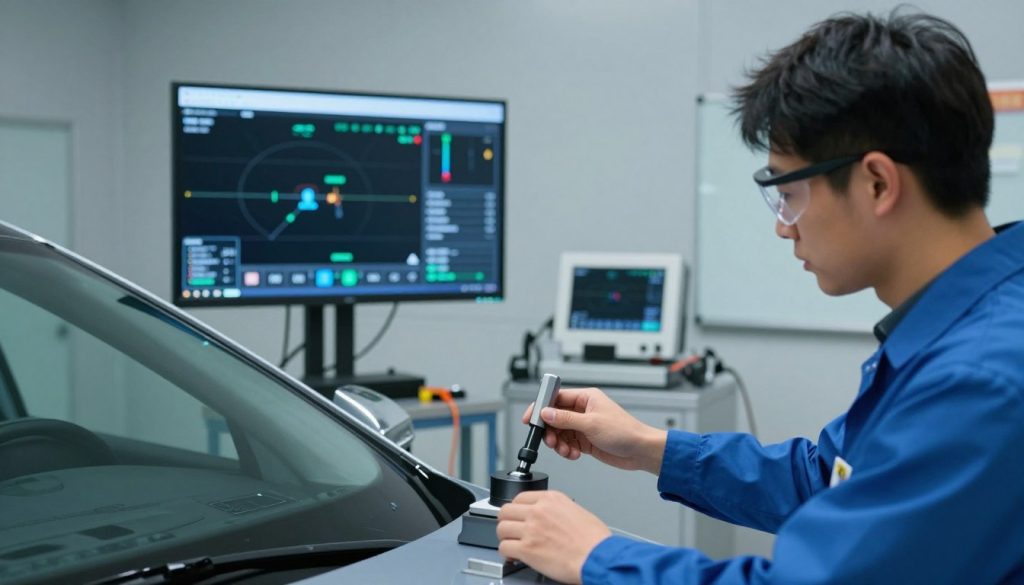
Technicians use advanced tools for precision. Smoke testing involves introducing a non-toxic vapor around the seal. Even tiny gaps become visible as the smoke escapes.
Some shops employ ultrasonic detectors. These devices find minute air leaks that are impossible to see. This ensures a comprehensive diagnosis for your vehicle.
Seal Adjustment Techniques for a Quieter Ride
Properly adjusting the perimeter seal can eliminate those distracting air sounds on the highway. This precise process targets the source of wind intrusion for a peaceful cabin.
It involves checking the bond between the glass and your vehicle’s frame. Small gaps or a weak adhesive line are often the culprits.
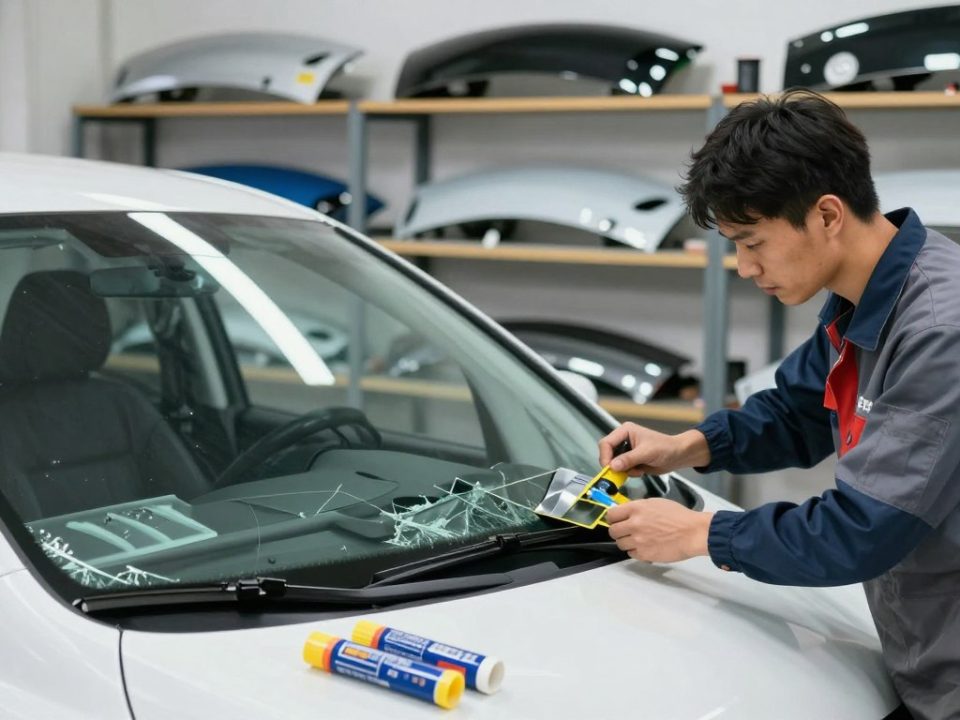
Essential Tools and Materials for Seal Repair
Gathering the correct items is your first task. You will need a few specific things to do the job right.
A rubber mallet is crucial for gentle tapping. Sealant remover, high-quality urethane adhesive, and cleaning supplies are also essential.
| Tool/Material | Primary Function | Important Note |
|---|---|---|
| Rubber Mallet | To gently seat the seal without damage | Use light, even taps; avoid striking the glass directly |
| Sealant Remover | To clean out old, compromised adhesive | Allows for a fresh, clean surface for the new bond |
| Urethane Adhesive | To create a new, airtight seal | Follow the manufacturer’s instructions for application and cure time |
| Lint-Free Cloth & Primer | To prepare the surface | Ensures maximum adhesion and prevents future leaks |
Step-by-Step Seal Adjustment Process
Begin by thoroughly cleaning the entire seal area. Remove any dirt, debris, or old sealant residue.
Inspect the perimeter for visible gaps or damage. If you find any, apply new adhesive in a continuous bead.
Use the rubber mallet to carefully tap the molding or seal into its proper position. This step requires a soft touch to avoid causing new issues.
Allow the adhesive to cure fully before driving your vehicle. This ensures a strong, lasting bond that blocks air.
Regular inspection of these components can prevent sound problems from returning. It maintains your comfort on the road.
DIY Fixes vs. When to Seek Professional Help
Deciding between a do-it-yourself approach and calling in an expert is a common crossroads for car owners dealing with post-installation sounds. Simple seal adjustments are often affordable, typically costing between $100 and $300. More complex work on your vehicle’s glass can range from $500 to $1,500.
Warning Signs That Require a Pro
Some symptoms clearly demand professional attention. If you notice water entering the cabin, it’s a major red flag. Persistent rattling sounds also indicate a deeper issue.
These are signs the primary adhesive bond may be compromised. Attempting a DIY fix here could affect driving safety. It’s time to seek a qualified technician.
Comparing DIY Methods and Professional Solutions
Understanding the scope of each option helps you choose wisely. Minor molding issues might be a quick, at-home project. You should never inject sealant into a suspected urethane gap, however.
| Approach | Best For | Time Required | Key Consideration |
|---|---|---|---|
| DIY Adjustment | Minor gaps, loose trim | Often under one hour | Cost-effective for small problems |
| Professional Repair | Faulty bonds, water leaks, complex air leaks | Several hours to overnight | Ensures proper cure and long-term seal integrity |
Professionals have specialized tools to diagnose and resolve deep-seated problems. They ensure the repair meets manufacturer standards for your comfort and security on the road.
How Miracle Auto Glass in San Antonio Addresses Windshield Noise Complaints
At our San Antonio location, we approach every customer concern about vehicle noise with a systematic method. Our team at 6730 Poss Rd, San Antonio, TX 78238, is dedicated to restoring your cabin’s quiet.
We understand that a persistent sound can ruin your driving experience. It often signals a sealing problem that needs expert attention.
Our Comprehensive Diagnostic Process
Our investigation begins with a careful visual check of the glass and its surrounding frame. We look for any visible gaps or misalignments that could let air in.
We then use specialized tools to detect even the smallest leaks. This precise approach ensures we find the exact source of the wind intrusion.
Advanced Sealing Techniques and Customer Assurance
For a lasting fix, we reapply high-grade adhesive and adjust the perimeter seal. This creates a tight, uniform bond that blocks air effectively.
We stand behind our work with a customer satisfaction guarantee. This includes a warranty on the repair and a follow-up to ensure your comfort and safety on the road.
Industry Standards and Best Practices in Windshield Installation
The key to preventing post-installation problems lies in strict compliance with manufacturer and safety guidelines. Professional auto glass shops follow a defined set of rules to ensure your safety and comfort.

A core framework is the Auto Glass Replacement Safety Standard (AGRSS). This provides essential guidelines for a secure and quiet fit. It helps technicians avoid common pitfalls that lead to annoying air gaps.
Each car maker also has specific rules. They may require unique adhesives or seal designs. Following these manufacturer specs is non-negotiable for a proper bond.
Quality control measures are critical steps. Technicians meticulously check the pinch weld and glass alignment. This precision ensures the structural integrity of your vehicle is maintained.
Installers prioritize an immaculate work area. A clean surface allows the urethane adhesive bead to be continuous and free from voids. This attention to detail is what blocks wind and ensures a lasting repair.
The Impact of Wind Noise on Driver Comfort and Vehicle Safety
What many drivers dismiss as a minor nuisance can actually compromise their safety on the road. Intrusive cabin sounds create more than just irritation during your daily commute.
Persistent air intrusion affects both your immediate comfort and long-term security. The table below highlights how these issues interconnect.
| Aspect | Impact on Safety | Impact on Comfort |
|---|---|---|
| Driver Distraction | Reduces focus on traffic conditions | Creates constant irritation during trips |
| Fatigue Development | Increases reaction time to hazards | Causes mental exhaustion on long drives |
| Structural Compromise | Weakens frame support in rollovers | Allows more vibration and movement |
| Water Intrusion | Damages electronic control systems | Creates moisture and mold issues |
| Airbag Function | May affect proper deployment timing | None directly, but critical for protection |
An improperly sealed piece of auto glass fails to support your vehicle’s frame correctly. This becomes critical during a rollover accident where the glass provides structural reinforcement.
The correct deployment of airbags also relies on this support. Your security systems need a properly bonded surface to function as the manufacturer designed.
Air gaps can let water enter the cabin over time. This moisture may damage sensitive electronics like your anti-lock braking system.
Ensuring a perfect bond during any glass installation protects both your peace of mind and physical well-being. It turns a potentially hazardous situation into a secure, quiet driving experience.
Step-by-Step Guide to Troubleshooting Wind Noise Issues
A methodical approach is your best tool for silencing unwanted highway sounds. Isolating the source requires a clear plan you can execute yourself.
Begin by gathering your notes on when the sound occurs. This initial data will guide your entire investigation process.
Road Testing and Visual Inspections
Conduct a controlled road test at speeds between 55 and 70 mph. Listen carefully to determine exactly where the wind noise peaks.
Use the simple crack test. Open your driver’s window slightly. If the pitch changes or vanishes, you have confirmed an airflow issue.
Once parked, perform a visual check with a bright flashlight. Look for any molding lift or visible gaps around the glass perimeter.
Using Pressure and Tape Tests Effectively
The tape test is a powerful diagnostic tool. Apply painter’s tape over suspect exterior seams.
Take the vehicle for another short drive. A noticeable drop in the rushing air confirms the leak’s location.
Always document your findings during these tests. This information helps a professional technician diagnose the problem much faster.
Persistent issues often point to a flaw in the original installation. A precise diagnosis is the first step toward a permanent fix for your windshield.
Preventative Measures for Future Windshield Replacements
Your next glass installation can be a silent success by focusing on a few critical preventative actions. The right choices before the work begins are your best defense against future sound and sealing issues.
Select a service provider committed to OEM procedures. They should use vehicle-specific moldings for a perfect fit. This attention to detail ensures the highest quality auto glass replacement for your car.
Always verify the new piece matches your original equipment. Check for features like acoustic interlayers or integrated camera brackets. Matching these specs is key for long-term safety and comfort.
Request a dry-fit and flushness check with the technician. This visual inspection confirms no visible gaps along the roofline or pillars. It prevents many common wind noise problems from starting.
Respect the full cure time for the adhesive. Follow the installer’s drive-away instructions precisely. Finally, schedule a joint road test to confirm a quiet ride for your vehicle.
Recent Innovations in Windshield Technology and Noise Reduction
Innovations in auto glass are transforming how quiet your drive can be. These advancements target the root causes of cabin sounds directly.
They focus on better materials and smarter design. This leads to a more peaceful experience on the road.

Acoustic Interlayer Advancements
Acoustic interlayers are a major leap forward. A special vinyl layer is bonded between two sheets of glass.
This sandwich construction acts like a sound barrier. It dramatically lowers the noise floor inside your vehicle.
Many luxury cars now feature this glass as standard. It keeps the cabin environment serene and focused.
Improved Molding and Seal Designs
New molding profiles create a much tighter fit against your car’s body. This precision cut down on air leaks effectively.
Better seals mean less turbulence around the glass perimeter. It addresses a common source of wind noise directly.
These designs work with advanced adhesives for a perfect bond. The result is long-term comfort and quiet.
| Innovation | Primary Benefit | Common Vehicle Application |
|---|---|---|
| Acoustic Interlayer | Significantly reduces transmitted road and wind sound | Luxury models and premium trims |
| Advanced Molding Design | Creates a tighter seal to prevent air gaps | Modern SUVs and sedans |
| Precision Installation Methods | Ensures perfect glass alignment for minimal turbulence | All new vehicles during factory assembly |
Understanding these technologies shows why using the correct glass type matters. It protects your safety and comfort for years.
Future trends promise even quieter auto glass replacement. This continuous improvement makes driving more enjoyable.
Conclusion
A quiet ride is not a luxury; it’s a standard that proper auto glass repair upholds. Addressing any unusual sound from your vehicle’s front is crucial for your peace of mind.
Whether the issue stems from minor gaps or a flawed seal, identifying the root cause is the most important step. Professional help often provides the lasting solution you need.
Miracle Auto Glass uses advanced techniques to diagnose and fix these problems. We ensure a perfect bond with high-quality adhesive for your safety and comfort.
Remember, a correctly installed piece of glass is vital for your vehicle’s structural integrity. It protects you on every drive.
Don’t let wind noise or air leaks disrupt your journey. Contact our team today to schedule your repair and enjoy a smooth, quiet ride once again.