
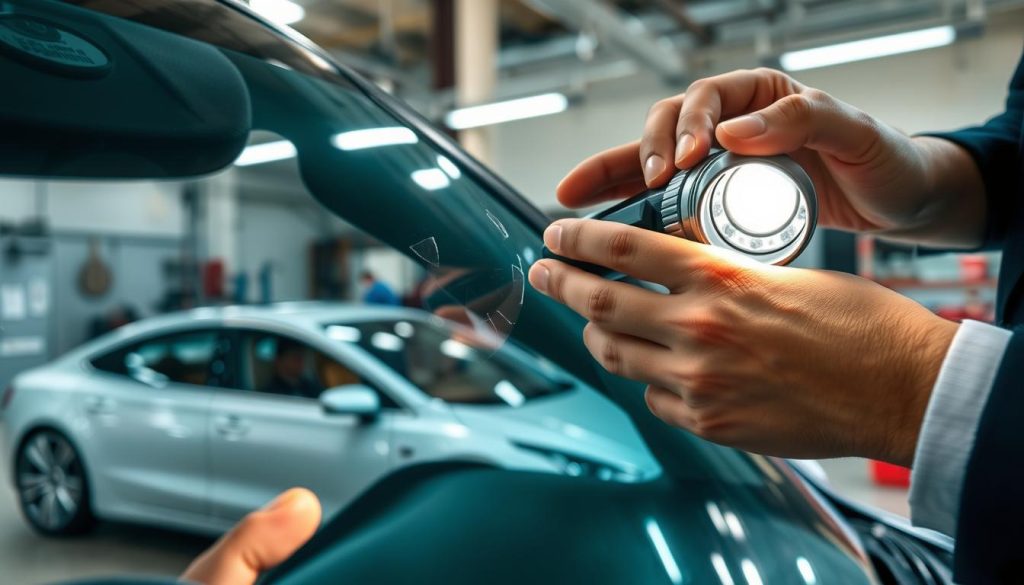
Why Modern Windshields Need ADAS Calibration
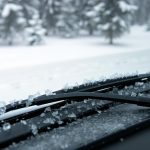
Winter Driving Tips to Protect Your Windshield
You may think your glass looks fine at a glance, but tiny chips, hairline cracks, subtle distortion, or early seal separation can hide beneath the surface. These flaws often reveal themselves only with glare, vibration, or after a repair.
This short guide shows you a fast, repeatable driveway check and a deeper follow-up after impact or a new install. Start by cleaning the area, then scan for optical clarity, edge gaps, and trim fit. Check sensors and ADAS alignment if your car has them.
Inspect after a rock strike, rough roads, sharp temperature swings, or any repair. You can confirm small chips, pitting, and visible seal gaps at home. Do not push on the glass or underestimate distortion that affects your view or safety.
If you find damage or want a pro second opinion, contact Miracle Auto Glass for a safety-focused evaluation and repairs that meet structural standards.
Key Takeaways
- Hidden damage can be tiny but grow into safety risks; check regularly.
- Do a quick driveway scan and a deeper check after impacts or installs.
- Clean first, then check optical clarity, edges, trim, and sensors.
- Know what you can verify at home and when to call a technician.
- For professional assessment or repair, rely on Miracle Auto Glass.
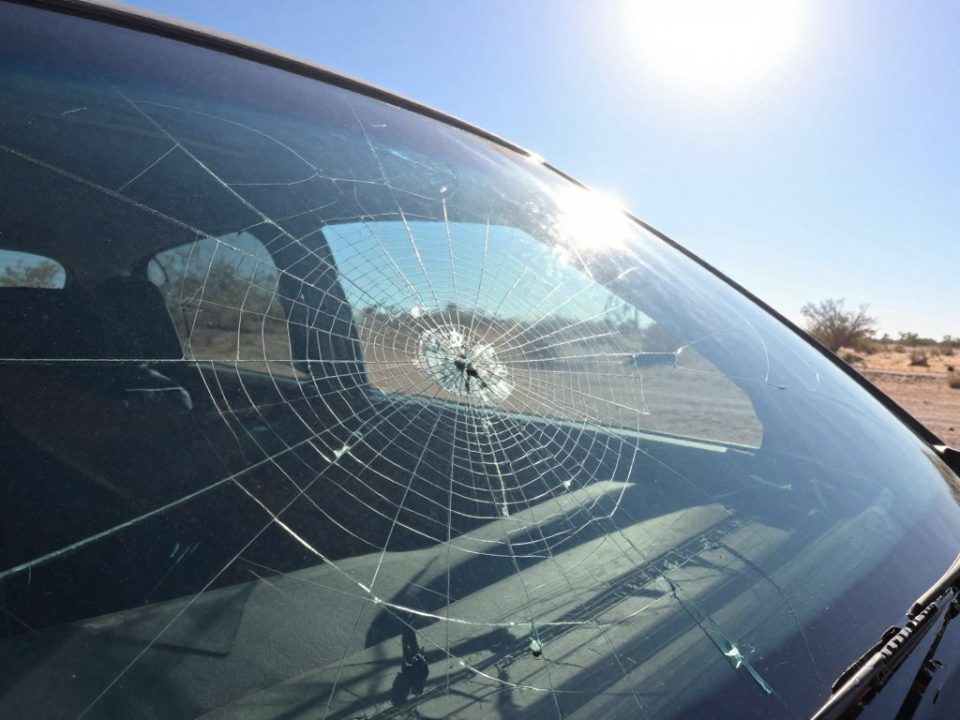
Why Hidden Windshield Damage Matters for Your Safety and Your Vehicle
Hidden cracks or chips can quietly weaken your car’s front glass long before you notice a problem. That glass helps keep the roof supported during a rollover and keeps the cabin intact under force. When pre-existing flaws exist, the overall structural integrity suffers.
Laminated glass is designed to hold together and resist penetration. It also limits flying debris that can injure you. But tiny damage can compromise that barrier and reduce protection in a crash.
Chips and small cracks can change how airbags deploy by altering the support the glass provides. That can raise injury risk in a collision. Daily road vibration, potholes, and temperature swings make micro-cracks grow into visible lines.
- Roof strength: compromised glass lowers rollover performance.
- Visibility: haze and distortion increase glare and reaction time.
- Vehicle care: ignored damage leads to leaks, wind noise, and costlier replacement.
Inspect early to preserve both safety and structural integrity—this is about protection, not just appearance.
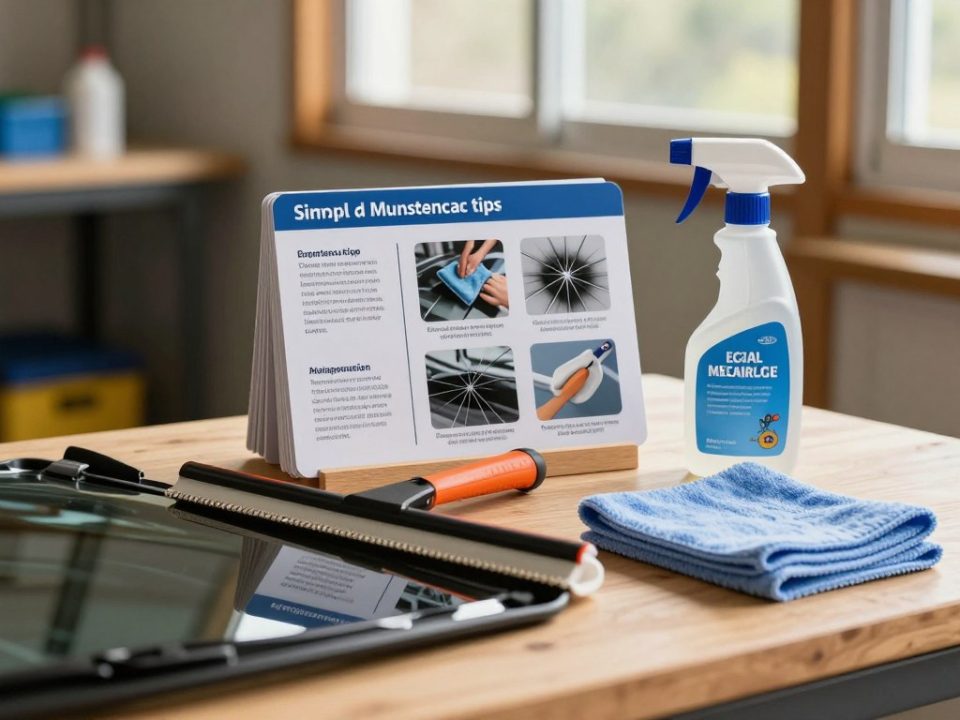
Windshield Inspection Tips You Can Do at Home Before You Drive
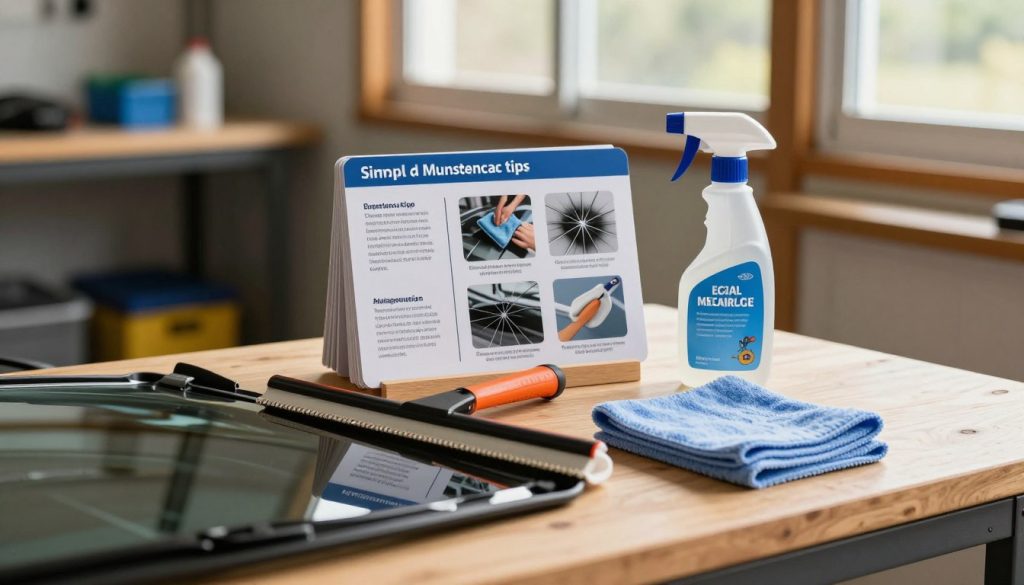
Spend five minutes in the driveway to catch faint chips, haze, or edge gaps before they turn into bigger problems. Gather a microfiber cloth, automotive-safe glass cleaner, and a bright flashlight or parking light. Work in shade or soft daylight for best results.

Cleaning first is the best step. Wash and dry the glass so pitting, faint chips, and hairline crack lines show instead of hiding under grime.
Visibility and straight-line check
Stand inside the car and look at straight vertical and horizontal references—garage door seams, poles, or building edges. Move your head slowly to spot haze, waves, or distortion that affect visibility.
Edge, frame and chip scan
Run your eyes along the full perimeter where the glass meets the frame line. Watch for lifting, uneven fit, or early separation.
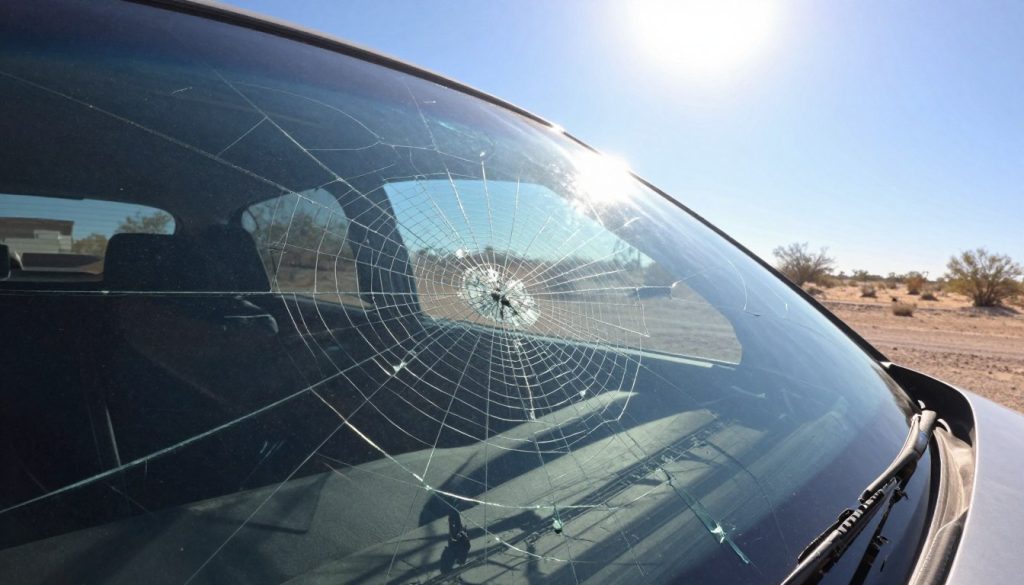
Look for starbursts and bulls-eye chips. These patterns can spread with road vibration or pressure and temperature changes.
Quick scan and next steps
After an impact check side windows and rear windows for related damage.
- Document issues: take photos in good light and note location relative to the driver’s view.
- Decision rule: if damage sits in your direct visibility zone or is spreading, plan professional repair or replacement.
- Avoid DIY fixes that can worsen cracks under pressure.
How to Spot Seal, Trim, and Adhesive Problems That Cause Leaks and Wind Noise
A quick edge review after any install can reveal small gaps, loose molding, or messy adhesive before they cause leaks. Do this in daylight and with the glass clean so defects show clearly.
What good sealing looks like
An even, continuous seal sits flat where the glass meets the body. Molding should lie tight and consistent all the way around with no visible gaps or lifted corners.
Visual checks at the edges
Scan the perimeter for uneven spacing or gaps that can let wind or water in. If you see lifted corners or uneven fit, that spot is a likely source of noise and moisture.
Interior red flags near dash and A-pillars
Look inside for excess glue blobs, adhesive smears, or glass dust on trim. Messy cleanup after an installation often signals rushed work and long-term problems.
Simple pressure check for loose trim
Use your fingertips to press the trim gently. It should not flex, shift, or pop up under light pressure. Any movement means recheck the fitment and bond.
Quick water check after rain or a rinse
After heavy rain or a gentle rinse, inspect the headliner edges, lower corners, and dash for dampness or fog. Early moisture intrusion can cause corrosion and weaken overall integrity.
What to do next: If you spot leaks, loose trim, or messy adhesive, address them now while the fix is small. For persistent problems, read the signs of a bad windshield installation and arrange professional service to protect your vehicle and safety.
Tech and Reinstallation Checks for Modern Auto Glass Systems
Treat a post-replacement walkaround like a systems check: mounts, sensors, and moving parts must sit right before you hit the road.

Why it matters: modern auto glass assemblies support cameras and rain sensors that feed safety systems. If any component is loose or misaligned, lane assist, adaptive cruise, and other features may not work properly.
Quick reinstallation checklist you can run in minutes
- Rearview mirror: confirm it is firmly attached with no wobble when you tap it gently.
- Wipers and cowl panel: run the wipers to ensure they sweep smoothly and do not contact trim; check the cowl sits flush and has no missing clips.
- ADAS camera and rain sensor: housings should be clipped in, centered, and not loose against the glass.
Calibration and verification steps
Ask the technician for a calibration report or printout. Confirm paperwork shows the calibration process passed and includes the date and technician name.
Before you leave, scan the dash for new warning lights. On a safe test drive, verify lane assist or adaptive cruise behaves normally. If you see dangling covers, rattles near the mirror/camera, or any warning, contact a qualified technician immediately.
After a Repair or Windshield Replacement, What to Monitor Over Time
Monitor the repaired or new pane over time to catch any signs that the job did not hold up. This helps protect safety and your investment.
Evaluate clarity and surface quality
Check that the repair area stays clear enough for safe driving. A tiny mark may remain, but it should not distract you in the primary viewing zone.
Run your finger lightly near (not on) the resin to confirm the surface looks flush and smooth. Look for any new lines or spreading cracks from the original damage.
Structural spot-checks you can do safely
Tap the glass gently with your knuckle. A consistent tone across the pane signals even bonding.
From inside, apply light pressure near the edge of the glass. There should be no give or flex that suggests compromised structural integrity.
Care steps to protect curing adhesive and preserve warranty
Follow post-install instructions for the first 24–48 hours: avoid slamming doors, delay high-pressure washes, and keep any retention tape in place. These simple care actions let the adhesive set properly.
Keep paperwork and photograph the area. Warranties often cover workmanship defects like leaks or stress cracks, but they may not cover damage caused by neglect.
When replacement is the safer option
- If damage grows, spreads, or sits in critical sight lines, favor replacement over repair.
- Large chips, multiple cracks, or persistent haze usually mean a full replacement offers better long-term quality and integrity.
- If anything looks or sounds off over time, schedule a pro recheck with a technician so issues are addressed promptly.
Conclusion
A quick follow-up scan can stop minor damage from turning into a major repair. Clean the pane, check for distortion and glare, inspect edges, seals, and trim, then confirm sensor fit and calibration. Monitor repairs or replacements over time for new signs that need action.
Do not ignore spreading cracks, bulls-eye or starburst chips, persistent haze, wind noise, leaks, or dashboard warnings after auto glass work. Document damage, avoid pressing on the glass, and act early so small issues stay small.
Quality materials and a correct job preserve structural strength and your peace of mind. For reliable service, repair, or replacement, hire Miracle Auto Glass to evaluate and fix your windshield or other glass damage.